Fix an underexposed portrait
Open a copy of the photo and ask for brighter faces without changing facial structure or smoothing away skin texture. Inspect eyes, hair edges and shadows at full size before keeping the result.
Editing on iPhone
If you are wondering how to use ai to edit photos on iphone, start with one photo and one specific change. A photo editor ai can help you describe the result you want, but you still need to check the image before saving or sharing it.
Brighten this indoor portrait while keeping the person's skin texture and facial features natural.
This is a static prompt example. Photoeditorai does not upload images, generate edits, or transfer this text to Supavisual.
Open SupavisualOn Supavisual, choose an editing tool and enter your image and prompt there. Sign-in and an active paid subscription are required to generate; check the available output options there.
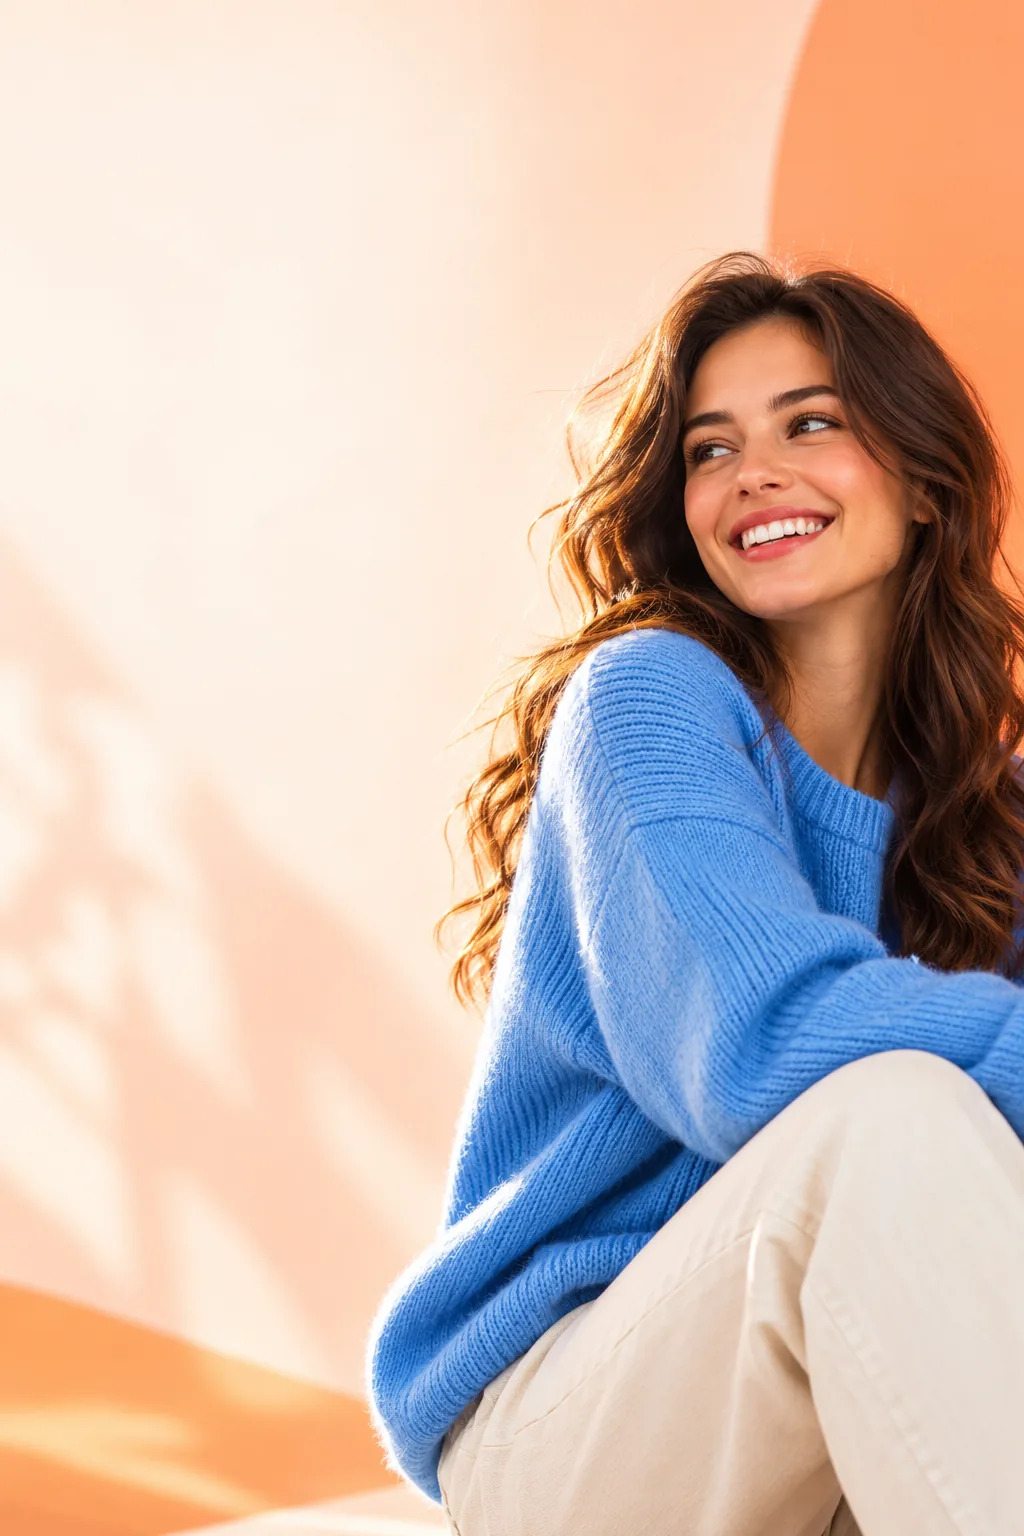
Three workflows
Choose a workflow by what is wrong with the picture, not by how many effects an editor offers. Keep the original in Photos so you can compare it with any result.
Open a copy of the photo and ask for brighter faces without changing facial structure or smoothing away skin texture. Inspect eyes, hair edges and shadows at full size before keeping the result.
Identify the object or area to change: for example, remove a bin behind the subject while preserving the wall and its shadows. Check for repeated patterns or warped edges where the background was rebuilt.
Ask for a cleaner backdrop and more even lighting while keeping the product's shape, label and colour accurate. Compare the result against the original before using it to represent a real item.
For a different starting point, these guides cover browser access, writing an edit request and working through a fuller editing sequence.
Compare browser-based editing considerations before opening a photo from your iPhone.
See how a specific written request can make an image edit easier to evaluate.
Follow a broader sequence for choosing, reviewing and saving an edited image.
Know the limits
Photoeditorai sends the editing action to a separate destination. Check its current upload requirements, controls and terms there rather than assuming it works like the built-in Photos editor.
This page is not an extension of the iPhone Photos app and does not change an image in your library automatically.
WorkaroundKeep your original in Photos, then follow the destination's available steps for selecting an image and saving any result.
Available file types, image dimensions and saving options depend on the destination and may change.
WorkaroundCheck the saved file's format and resolution on your iPhone before deleting any other copy.
An edit may alter a face, product label or background detail even when you asked for a narrow change.
WorkaroundCompare the output with your original at full size, especially where accuracy matters.
The table separates a quick correction from an edit that needs closer inspection. Neither route replaces checking the final image.
Portrait correction
A face is too dark or colour looks uneven.
Background or product edit
An object distracts, or the backdrop needs simplifying.
Portrait correction
Adjust light and colour while preserving facial features.
Background or product edit
Name the precise area to change and what must remain untouched.
Portrait correction
Eyes, skin texture and hair edges.
Background or product edit
Object outlines, labels, reflections and rebuilt textures.
Portrait correction
Unnatural smoothing or changed expression.
Background or product edit
Altered product features or invented background details.
Portrait correction
Original and result at the same zoom level.
Background or product edit
Original and result around every edited boundary.
Portrait correction
The person no longer looks like themselves.
Background or product edit
The scene or item no longer represents what was photographed.
Example output
An appealing result is only a starting point. On an iPhone screen, zoom in to check fine details that a fitted-to-screen preview can hide.

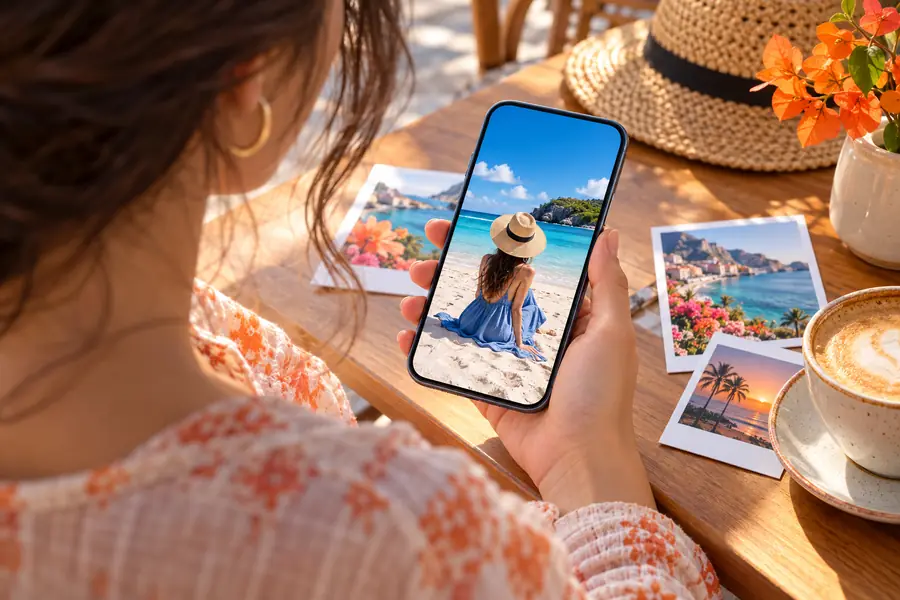
These are illustrative assets, not a verified edit of the same source photo. For your own before-and-after check, compare your saved original with the actual result.
Before you share
Choose an image you have permission to use and avoid uploading sensitive photos until you have reviewed the destination's privacy terms. Start with a narrow request, keep the original on your iPhone and inspect the result before sharing it.
Choose a photo you have permission to edit and decide on one visible change, such as brighter lighting or a less distracting background. Open the editing destination, check its current image-selection instructions and describe that change. Save the original separately so you can compare it with the result.
No. Keep the original in your Photos library while you test an edit elsewhere. If you save a result back to your iPhone, verify that it appears as a separate image before removing anything.
Describe the lighting or colour adjustment you want and explicitly say which features must stay the same. For example, ask to brighten a face while retaining skin texture, expression and hair detail. Compare those features against the original at full size.
Only if the result still represents the real product. Inspect its shape, colour, label and included items against the original photograph. An attractive background is not a reason to keep an edit that changes what a buyer would receive.
Safety depends on the photo and the destination's current handling of uploads. Read its privacy terms before sending images that contain children, documents, location clues or other sensitive information. When in doubt, choose a less personal test image.